 Français
 English
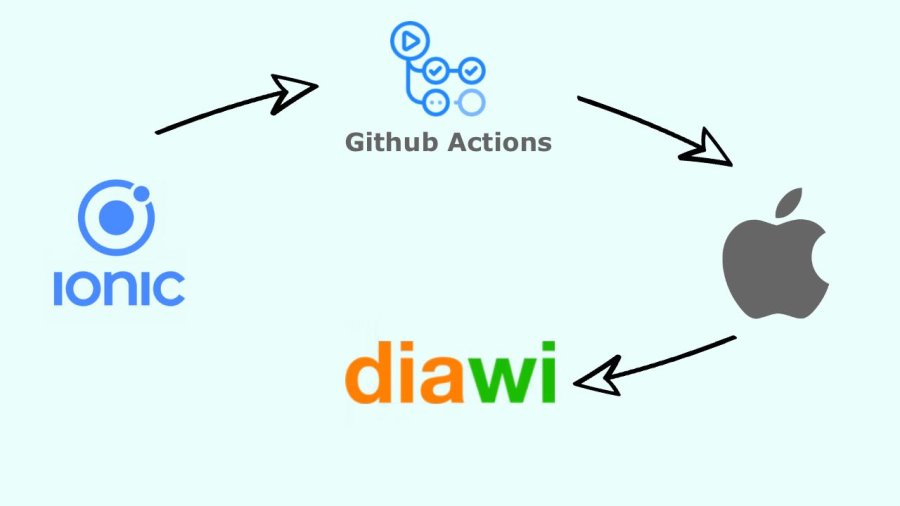
Do you want to set up an automated CI/CD chain that compiles your Ionic app and deploys it directly on Diawi, all with Github Actions?
I explain how to do it in this article. ")
Introduction
When we work on a software development project, we quickly realize that compiling, testing, and deploying the project quickly becomes cumbersome and daunting.
In recent years the techniques of CI/CD -- Continuous Integration/Continuous Development (or the common term to define the automation of builds, tests and deployment) flourish.
We will therefore focus on it for the deployment of an Ionic app automated by Github Actions.
Context
In this article, we will see how:
- compile an Ionic app with Github Actions
- deploy this app for iOS with Diawi
We are not going to discuss deployment for Android (which is relatively simple once you have done iOS), deployment on the stores (this may be the subject of a new article) nor the tests that could be done in CI/CD.
Prerequisites
To be able to follow this guide, you must:
- have a project hosted on Github
- be affiliated with the developer program Apple
- have a mac
Setting up the Ionic project
First, you must have an Ionic project with an iOS mobile app:
- developed via Angular (it's up to you to adapt the commands and scripts for other frameworks)
- who uses Capacitor
The guide will focus on the dev environment of the project.
In order to use the local CLI of the version of Angular installed for the project, add the following script in package.json:
{
    // ...
    "scripts": {
        "build-dev": "node ./node_modules/@angular/cli/bin/ng build",
        // ...
    }
}
Setting up the Build action
This time we will create the Github action which will allow us to compile our app when we push our project.
To do this, create the .github/workflows/dev-jobs.yml file with the following lines:
# Github Actions
# https://docs.github.com/en/actions/using-workflows/workflow-syntax-for-github-actions

# Here, we indicate to Github that the job must be executed on push of the dev branch
on:
  push:
    branches:
      - dev

# We configure the environment of the tools that will be used during the execution of our task
env:
  NODE_VERSION: 16.x
  JAVA_VERSION: 11.0.10

jobs:
  # This is our build job, which will take care of building our entire app until the final application
  build:
    name: Build App
    # As we will have to compile an iOS app, it is preferable to use a Mac system image provided by Github
    runs-on: macos-latest
    steps:
      - name: Config - Use Node.js ${{ env.NODE_VERSION }}
        uses: actions/setup-node@v1
        with:
          node-version: ${{ env.NODE_VERSION }}

      - name: Checkout
        uses: actions/checkout@v2

      - name: Project - Install dependencies
        run: npm ci

      - name: Project - Build
        run: npm run build-dev

      # Here, if we want to deploy our app for the web, we can process the files available in www.
At this point we have a project that when pushed to Github in the dev branch, compiles and provides the HTML/JS/CSS files in the www folder of the worker.
Management of certificates and iOS profiles
Generation of the certificate
To be able to distribute an iOS app, we will need a distribution certificate and a provision profile provided by the Apple developer area.
So let's start by creating a certificate:
- Log on to Certificates, Identifiers & Profiles
- Create a new certificate by choosing Apple Distribution
- Provide your Certificate Signing Request (here is the procedure to generate one from your mac https://developer.apple.com/help/account/create-certificates/create-a-certificate-signing-request)
- Download your distribution certificate (.cer)
On your mac, double-click the certificate file to install it into your keyring.
Convert certificate to p12
In order for Github Actions to be able to use your certificate, you will need to export it to an information exchange certificate (.p12).
For that :
- Open your keyring (keychain access)
- In session, go to the My certificates tab
- Find the newly installed certificate, then right click and Export Apple Distribution: ...
- Choose Personal Information Exchange (.p12)
You will need to provide a password to secure your certificate.
Provision profile generation
An iOS app needs a provisioning profile to know where and how to distribute the App. We are going to use the Ad-Hoc method in order to be able to distribute the App via Diawi on a predefined list of devices.
For that :
- Go to https://developer.apple.com/account/resources/profiles/list
- Add a new profile by choosing Distribution and Ad-Hoc
- Select the app concerned (you must first create your identifier in the Identifiers section)
- Select the distribution certificate created above
- Select the devices that will be able to run the app (you must first add the UUID of the iPhones in the Devices section)
- Generate and upload the profile.
Setting up the iOS deployment environment for Github Actions
For iOS, we will need to create and add files to the git repo in order to set up the iOS deployment environment on the Github Actions worker.
Setting up secrets in Github
We will set up the secrets in Github which will be used in the jobs of our project by Github Actions. We have two data to record:
IOS_CERTIFICATE_PASSWORD: the password used previously to protect the export of the p12 fileDIAWI_TOKEN: Access token to your Diawi account
For that :
- open your project's repo on Github.
- Go to Settings
- Click on Secrets and Variables > Actions
- Add a repository secret for each variable above.
Generation of ExportOptions.plist
The process of creating an iOS app goes through:
- the creation of an archive
- the export of the archive in .ipa.
To be able to export the archive, we need the export environment which is described in an XML file ExportOptions.plist.
We will generate it.
For that :
- Open XCode (
ionic cap open ioscommand) - Choose the app and the target Any iOS Device
- Click on Product then Archive
- Once the popup is open, click on Distribute the app
- Follow the process by choosing:
- Ad hoc
- App Thinking: None
- Your distribution certificate
In the export folder, get the ExportOptions.plist file.
Environment Setup
Here we will add the files necessary for configuring the deployment environment and compiling the app.
Add the following files:
- distribution.p12 (previously exported Personal Information Exchange .p12 file) in
.github/ios/certificates - ExportOptions.plist (previously generated export environment file) in
.github/ios/Options - profile.mobileprovision (previously downloaded provision profile file) in
.github/ios/profiles
Scripting
To install the profiles and generate the apps, we will implement Shell scripts.
To install the profiles, add the following file .github/ios/scripts/install-profiles:
#!/usr/bin/env bash
# Script to install iOS profiles

# Define project root path
scriptPath=$(readlink -f "$0")
projectRoot=$(dirname "$scriptPath")/../../..

# Install Provisioning profile
mkdir -p ~/Library/MobileDevice/Provisioning\Profiles
cp $projectRoot/.github/ios/profiles/profile.mobileprovision ~/Library/MobileDevice/Provisioning\Profiles/

# Add here the other commands to copy the other provision profiles needed.
To compile and build the iOS App, add the following file .github/ios/scripts/build
#!/usr/bin/env bash
# Script to build iOS App

# Define project root path
scriptPath=$(readlink -f "$0")
projectRoot=$(dirname "$scriptPath")/../../..
iosAppRoot=$projectRoot/ios/App

# Build archive
echo ""
echo "Build archive"
cd $iosAppRoot || exit
xcodebuild -workspace App.xcworkspace -scheme Default -configuration AdHocDistribution -archivePath $iosAppRoot/build/App.xcarchive clean archive
# The scheme also defines the target app name .ipa.

# IPA export
echo ""
echo "Export IPA"
xcodebuild -exportArchive -archivePath $iosAppRoot/build/App.xcarchive -exportOptionsPlist $projectRoot/.github/ios/Options/ExportOptions.plist -exportPath $iosAppRoot/build/apps

echo ""
echo "List folder files"
ls -l $iosAppRoot/build/apps
Updated dev-jobs.yml
We now have everything we need to generate an iOS app. We just need to configure the Github Actions workflow job.
In the build job, add the following lines:
      # ...

      - name: Project - Sync capacitor
        if: success()
        run: npx cap sync

      # https://github.com/Apple-Actions/import-codesign-certs
      - name: iOS - Install Certificates and Keys
        if: success()
        uses: apple-actions/import-codesign-certs@v1
        with:
          p12-filepath: ./.github/ios/certificates/distribution.p12
          p12-password: ${{ secrets.IOS_CERTIFICATE_PASSWORD }}

      - name: iOS - Install profiles
        if: success()
        run: ./.github/ios/scripts/install-profiles

      - name: iOS - Build Project
        if: success()
        run: ./.github/ios/scripts/build

      - name: Save artifact - iOS outputs ipa
        if: success()
        uses: actions/upload-artifact@v3
        with:
          name: app_ios
          path: ios/App/build/apps/*
          if-no-files-found: error

     # Here, we saved the result of the build in an Artifact that we retrieve in another job to deploy on diawi.
Let's now create the deploy_ios job which takes care of deploying the iOS app on Diawi:
Add the following lines to .github/workflows/dev-jobs.yml:
  # Deploy iOS app on Diawi
  deploy_ios:
    name: Deploy iOS App on Diawi
    needs: build
    runs-on: macos-latest
    outputs:
      # This variable can be used in another job to retrieve the Diawi sharing link (Notification on Slack for example)
      url: ${{ steps.diawi.outputs['url'] }}
    steps:
      - name: Download artifact - iOS outputs ipa
        uses: actions/download-artifact@v3
        if: success()
        with:
          name: app_ios
          path: ipa

      - run: ls ${GITHUB_WORKSPACE}/ipa

      - name: Deploy to Diawi
        if: success()
        id: diawi
        uses: rnkdsh/action-upload-diawi@v1.3.0
        with:
          token: ${{ secrets.DIAWI_TOKEN }}
          file: ./ipa/Default.ipa

      - name: Diawi URL
        run: echo ${{ steps.diawi.outputs['url'] }}
You can now push your project and Github Actions will compile and deploy the app for you.
Conclusion
Through this article, you can now configure an automated deployment environment via Github Actions.
This task delegation will simplify the maintenance of your project and will greatly facilitate the daunting task of compiling, (testing) and deploying an app.
I hope this article has been very useful to you, and I'll tell you more for the next one! 
Credits
- [Installing an Apple certificate on macOS runners for Xcode development](https://docs.github.com/en/actions/deployment/deploying-xcode-applications/installing-an-apple-certificate-on-macos-runners- for-xcode-development)
- GitHub Action to import Apple Code-signing Certificates and Keys
- Github Actions
- Diawi
- Test and deploy an iOS App with GitHub Actions
Add a comment